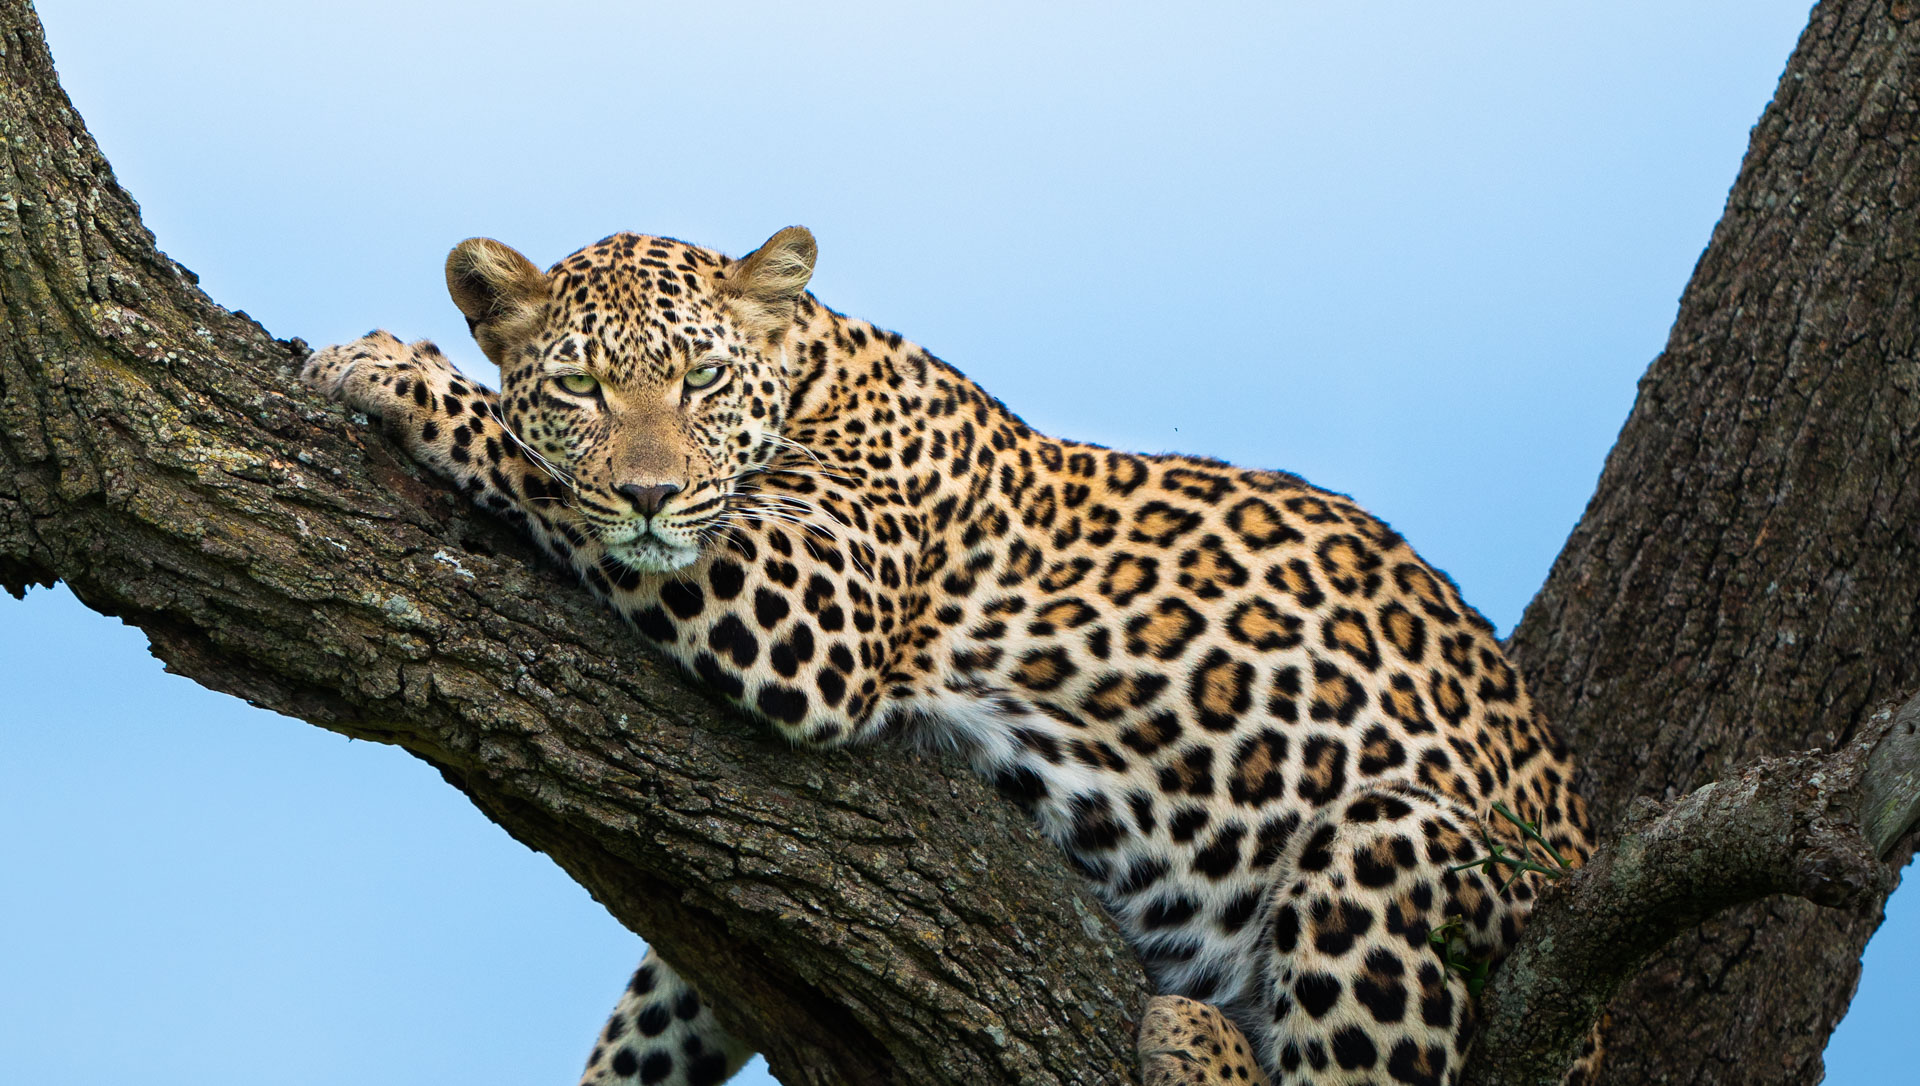
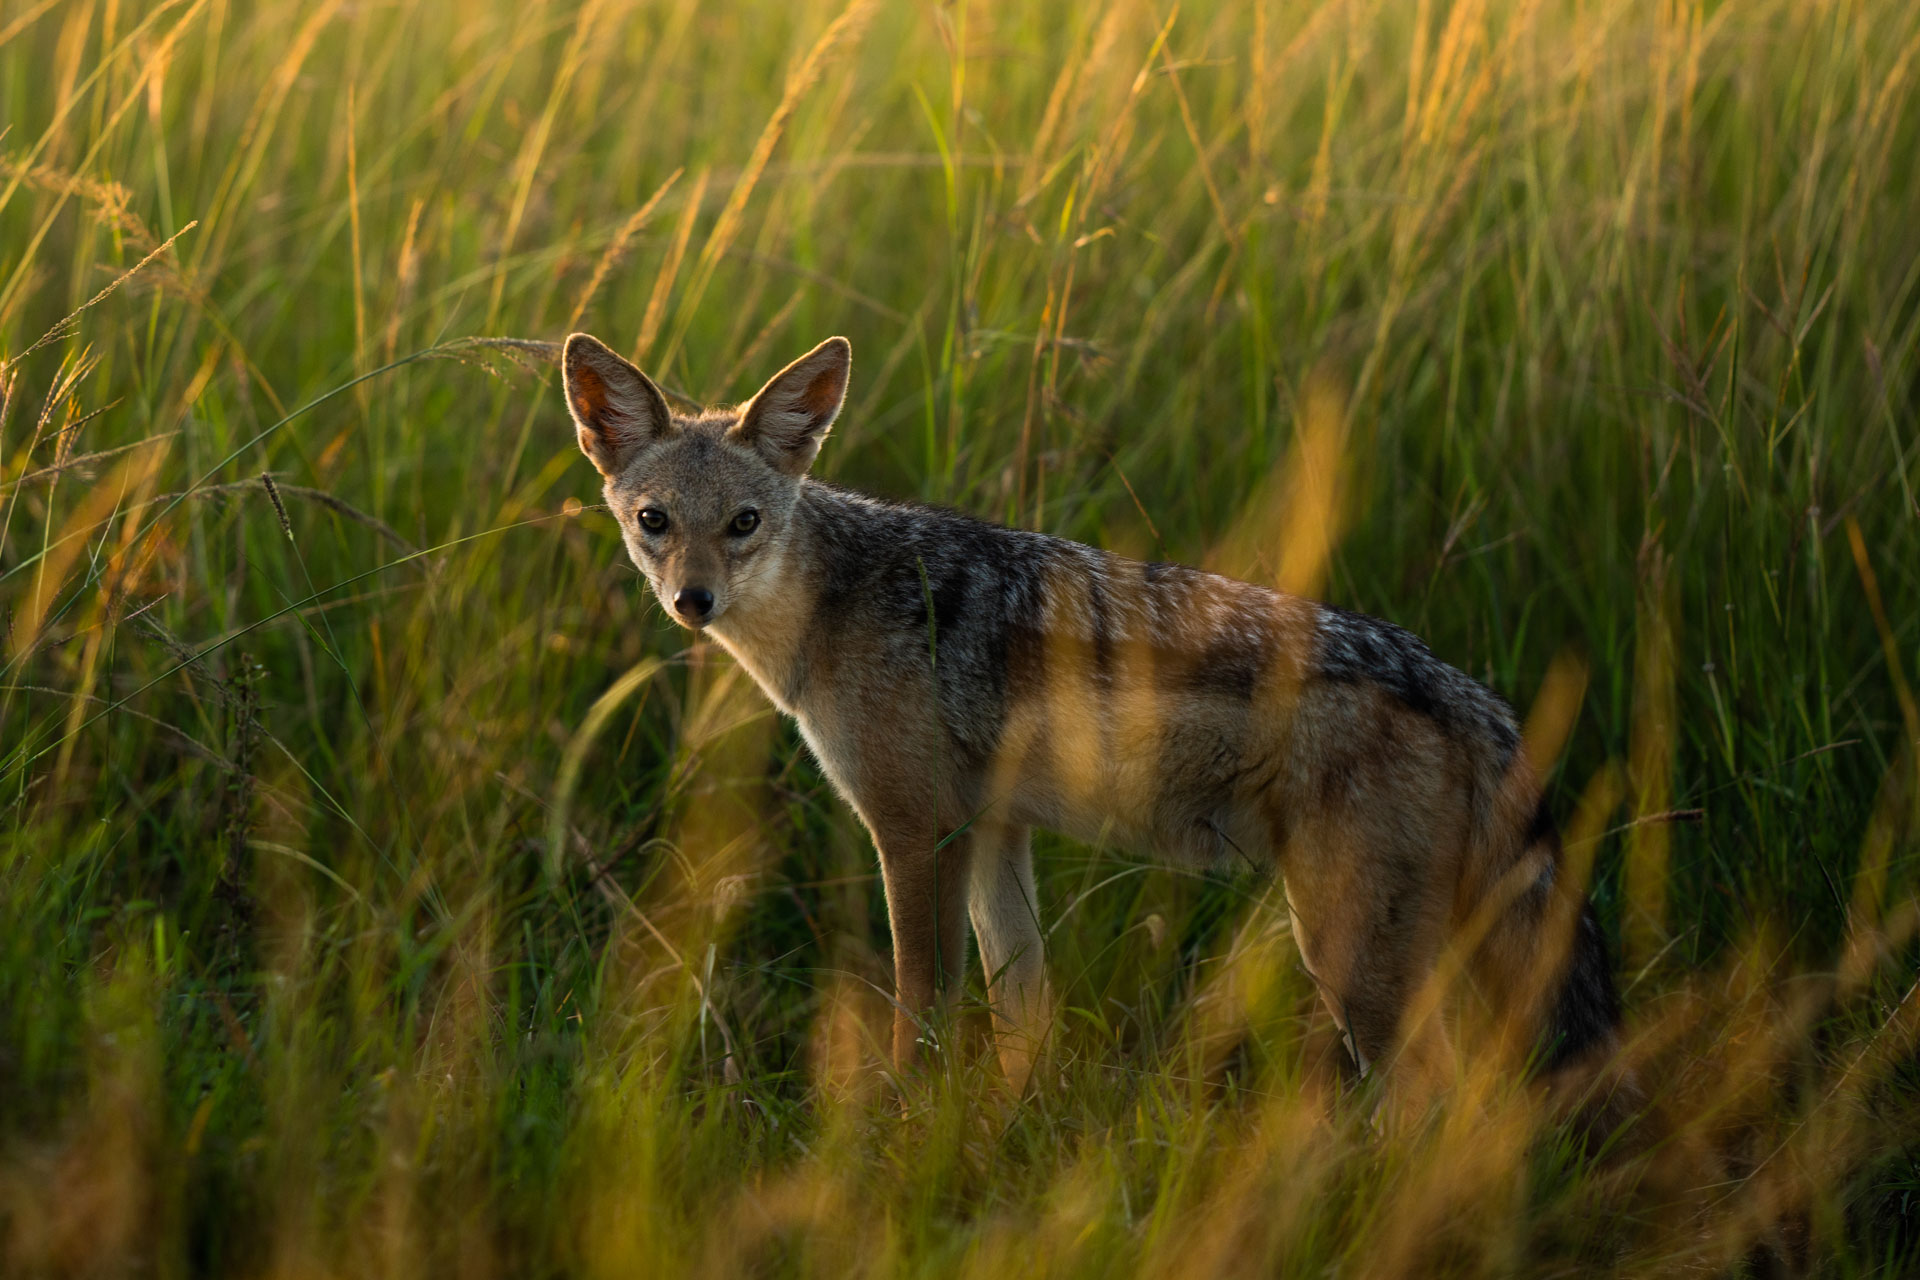
For wildlife photographers, post-processing has become an essential part of the workflow as it allows you to transform an image from good to great. I have been a photographer for the past four years, and editing my images has increasingly become one of the ways I try to stand out. I recently spent time at The Angama Photographic Studio and wanted to share some insights as well as some tips for beginners in wildlife photography.
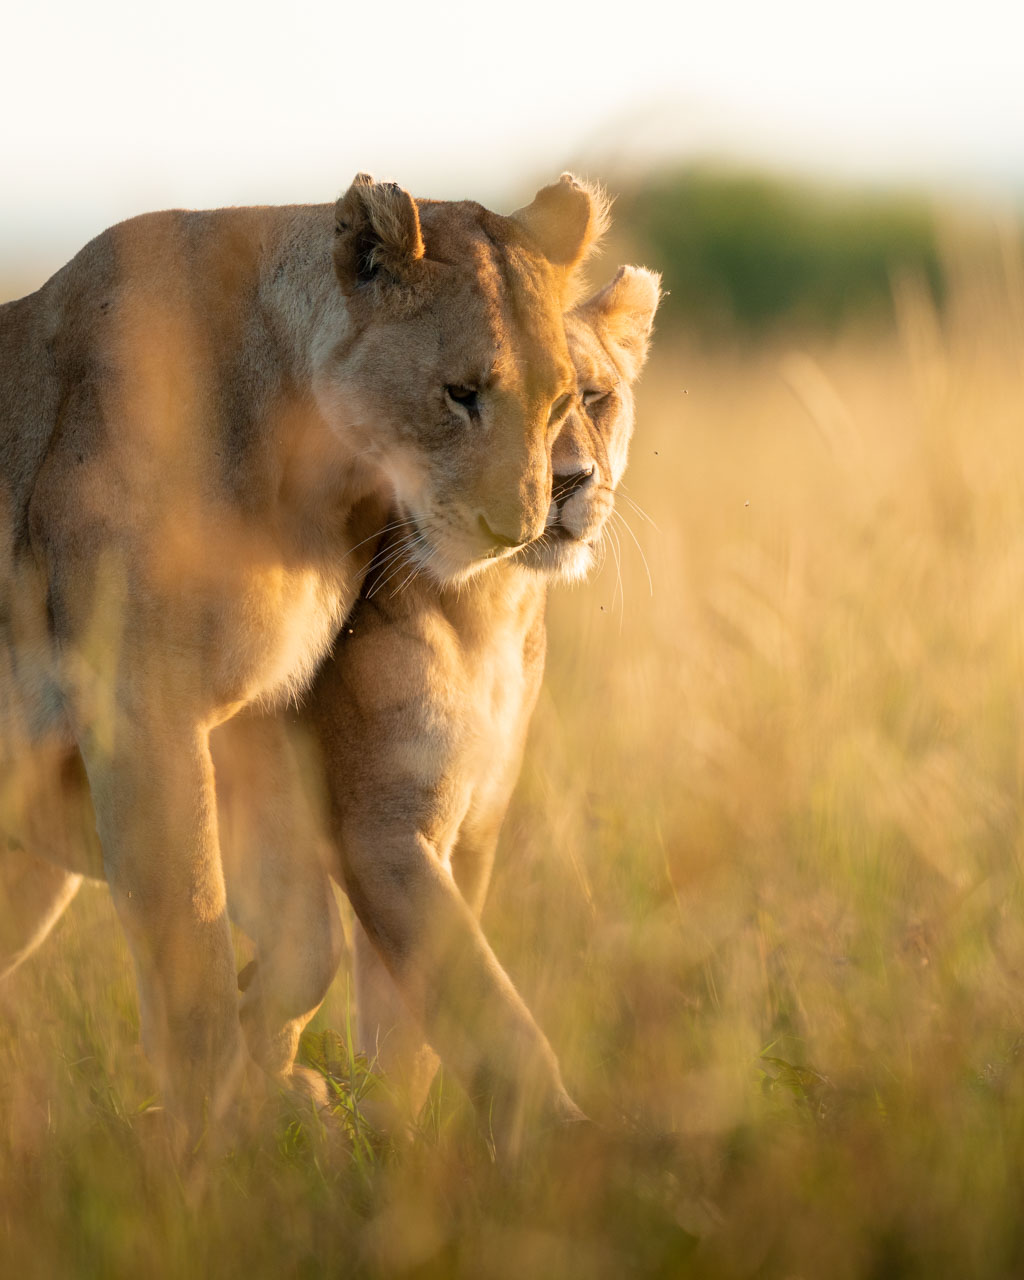
I always try to get the best photos possible while in the field as this prevents me from relying too much on my post-processing. The goal is to nail the composition, lighting, exposure and focus as much as possible so that I can have an easy editing session. As you spend more time in the wild, you’ll tend to become pickier with your photos because you will start understanding what works and what doesn’t according to your style. I always prefer photographing animals during golden hours (sunrise and sunset), while I find the light at noon to be extremely harsh on the animals. The Angama guides are very conscious of photographers and, as much as possible, will try to put you in the best position for your subject and the light.
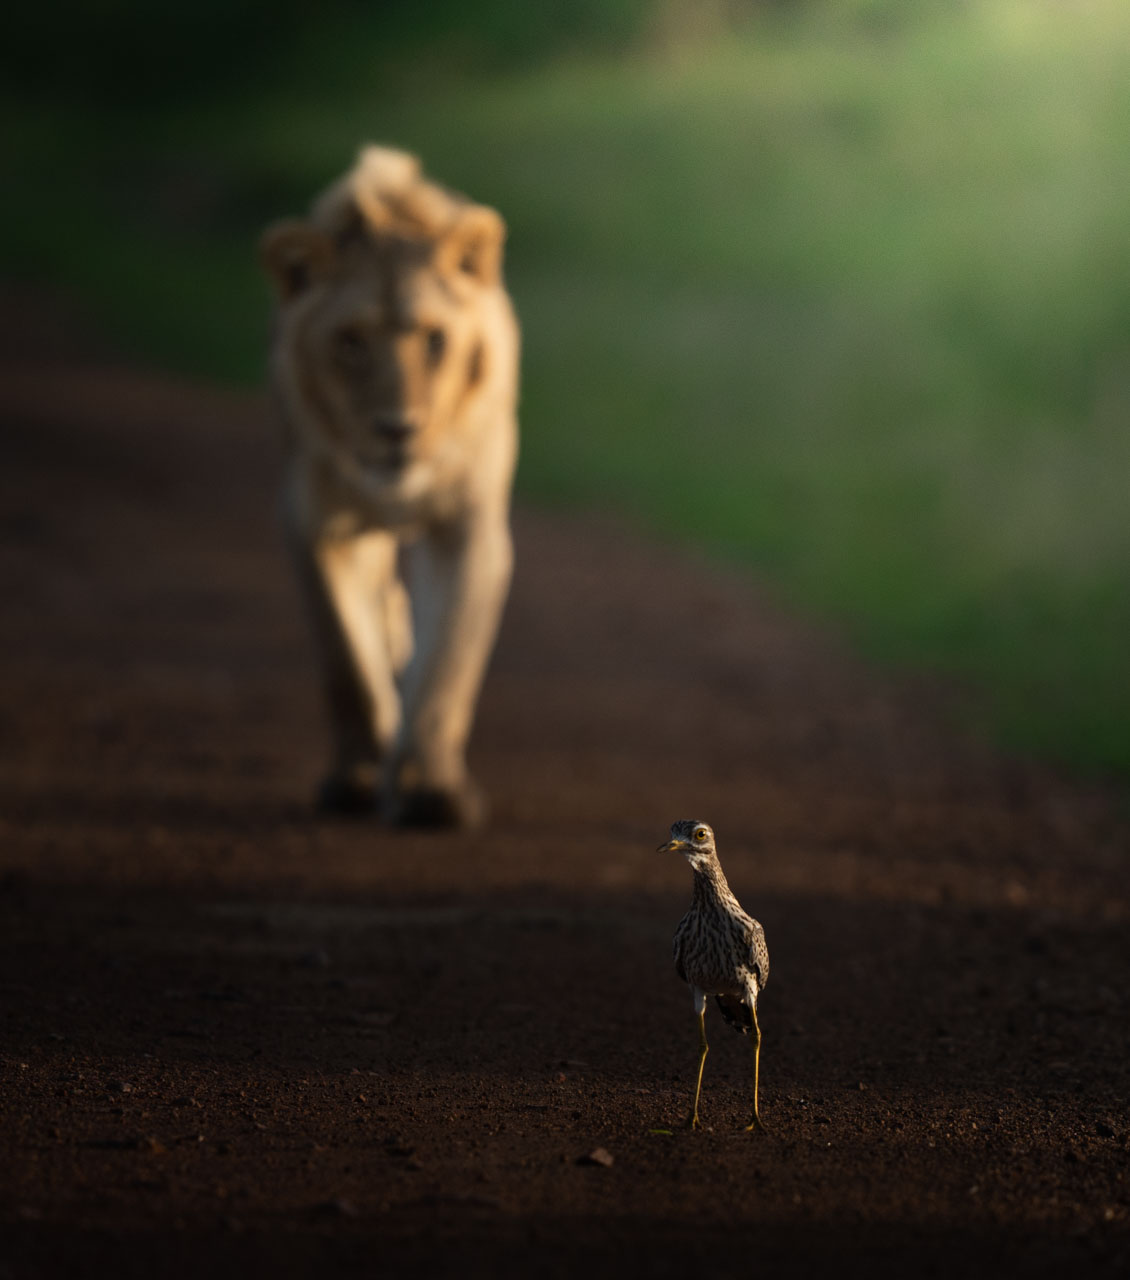
It’s important to be creative in the field, however, you can also stand out from others if you can be creative in your post-processing. I use Adobe Lightroom for all my post-processing as it has got a very user-friendly interface, multiple photo adjustment tools and it constantly evolves with updates. All the computers in the Studio at Angama have Lightroom and the photographers there do classes with guests so I highly recommend you give it a try.
Depending on the photo, I’d usually start with some adjustments in exposure, then colour and finally selective enhancements. With the ability to selectively adjust different subjects on the photo, I believe this brings out a tonne of opportunities!
For example, here is a RAW photo of a leopard vs my edited version.
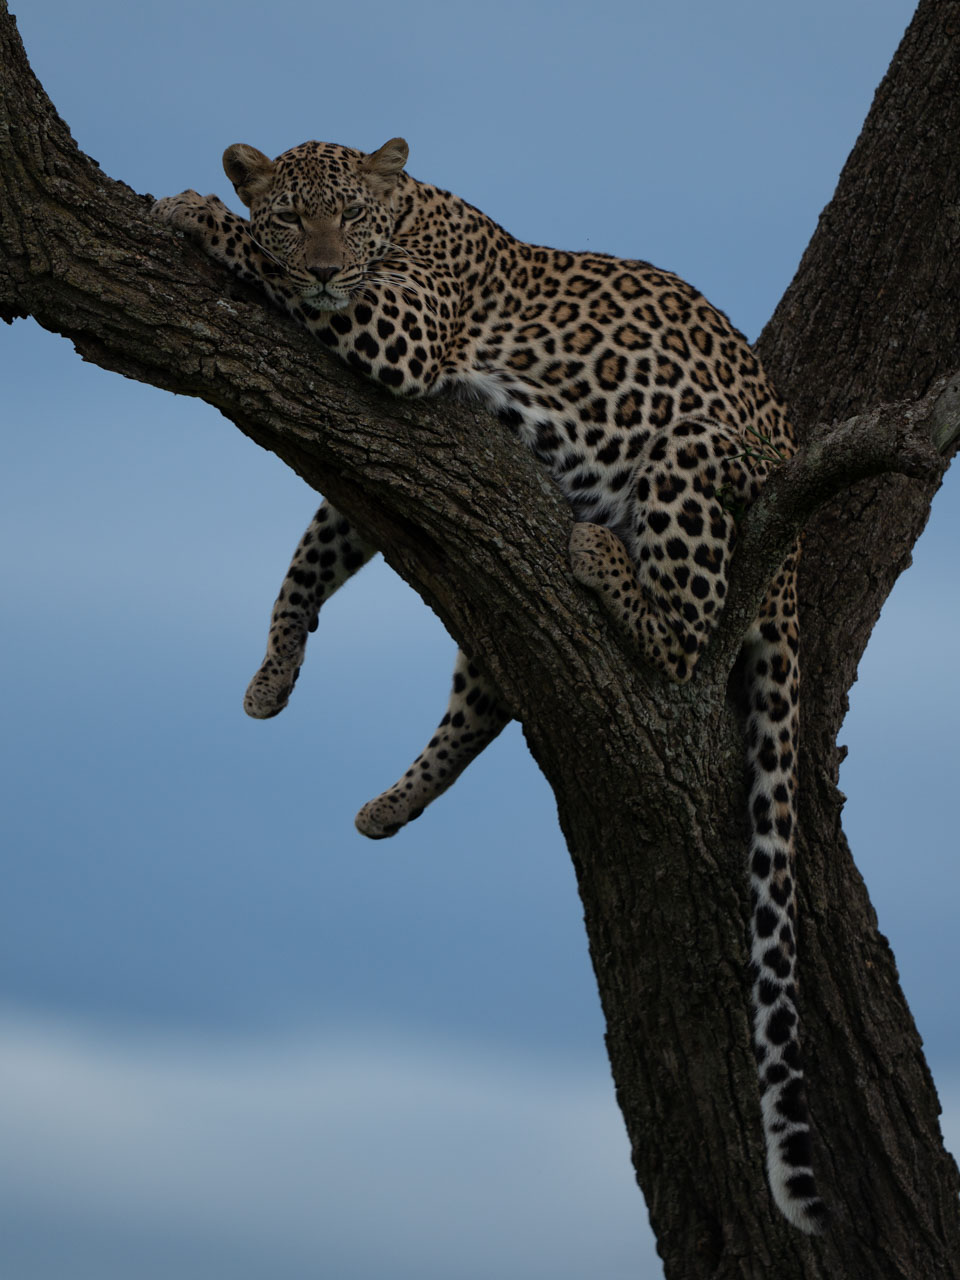
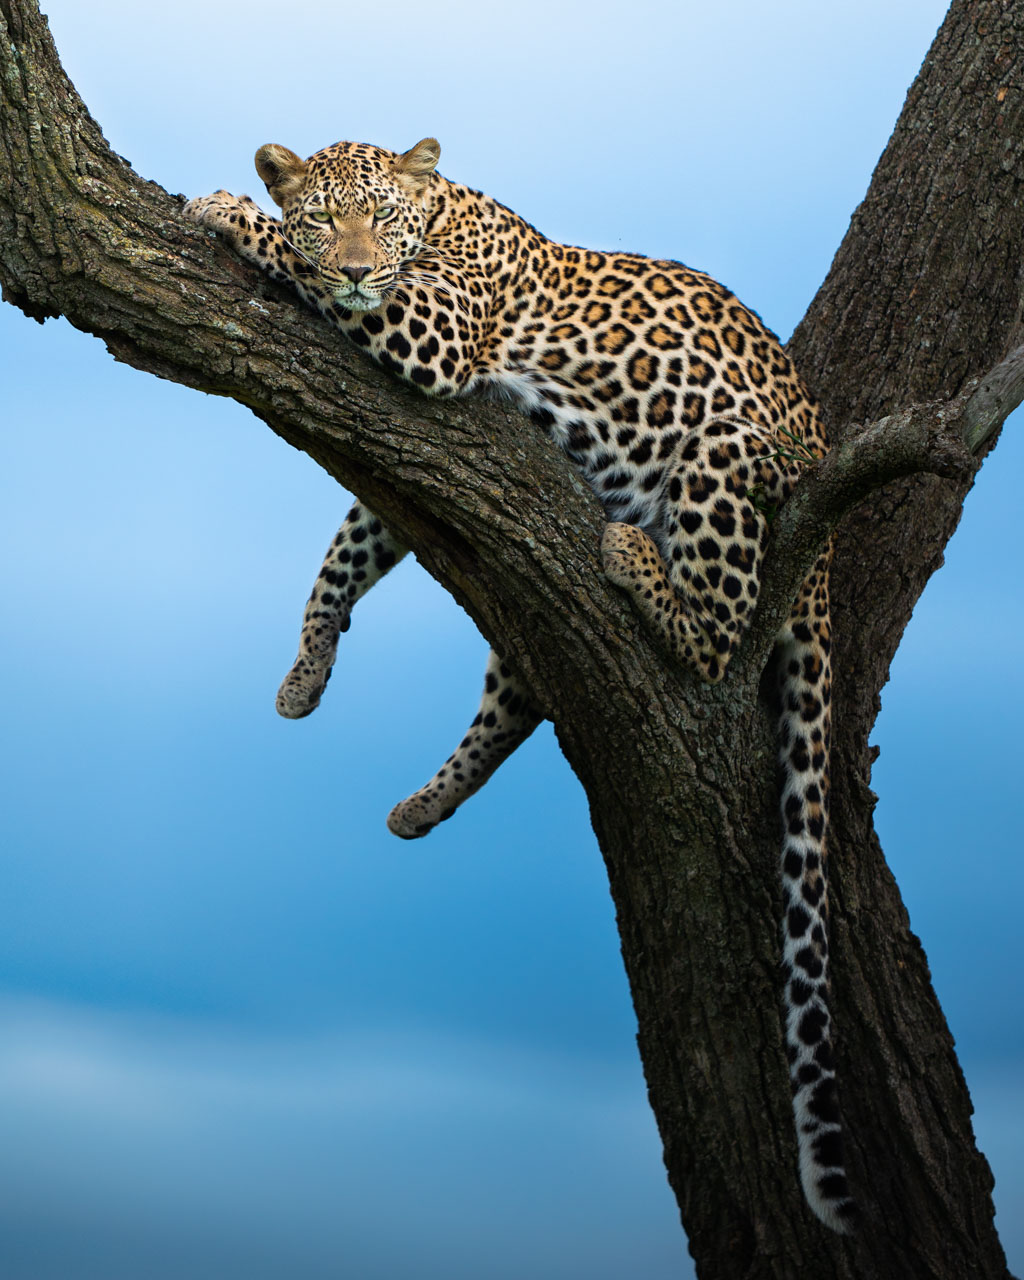
In this image, I selectively added some exposure to the leopard and added some light from the top because it was a cloudy day. In the end, it was a short edit and I was happy with the way it came out.
Tips & Tricks:
Try your best on the field: My first photography guru, Priyanshi, taught me that you can always make a good photo better, but it’s extremely difficult to save a bad photo in post-processing. In other words, make sure the raw material is of quality so that the end product is of high quality too. By this, I mean try to get the exposure, composition, and camera settings set up as well as you can. It’s important that you know how to use all the settings of your camera so you can get the best shot. You can rent cameras and lenses in the Studio and one of the photographers will take you through it and how to get the best images. They can even join you on your safaris to help you take the best picture in the moment and from there, your post-processing experience of the image will feel easier.
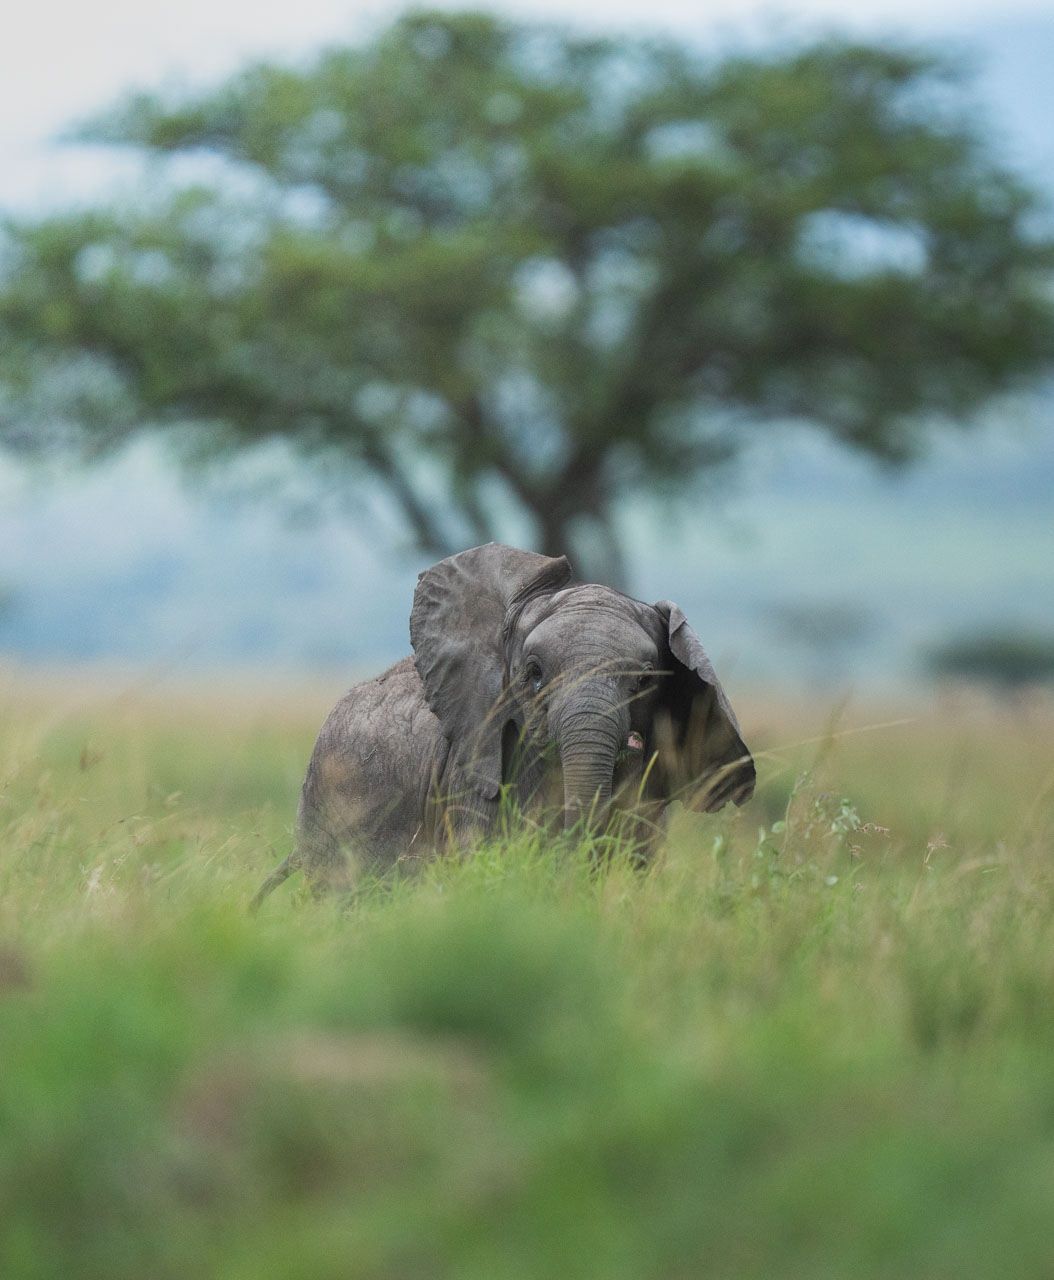
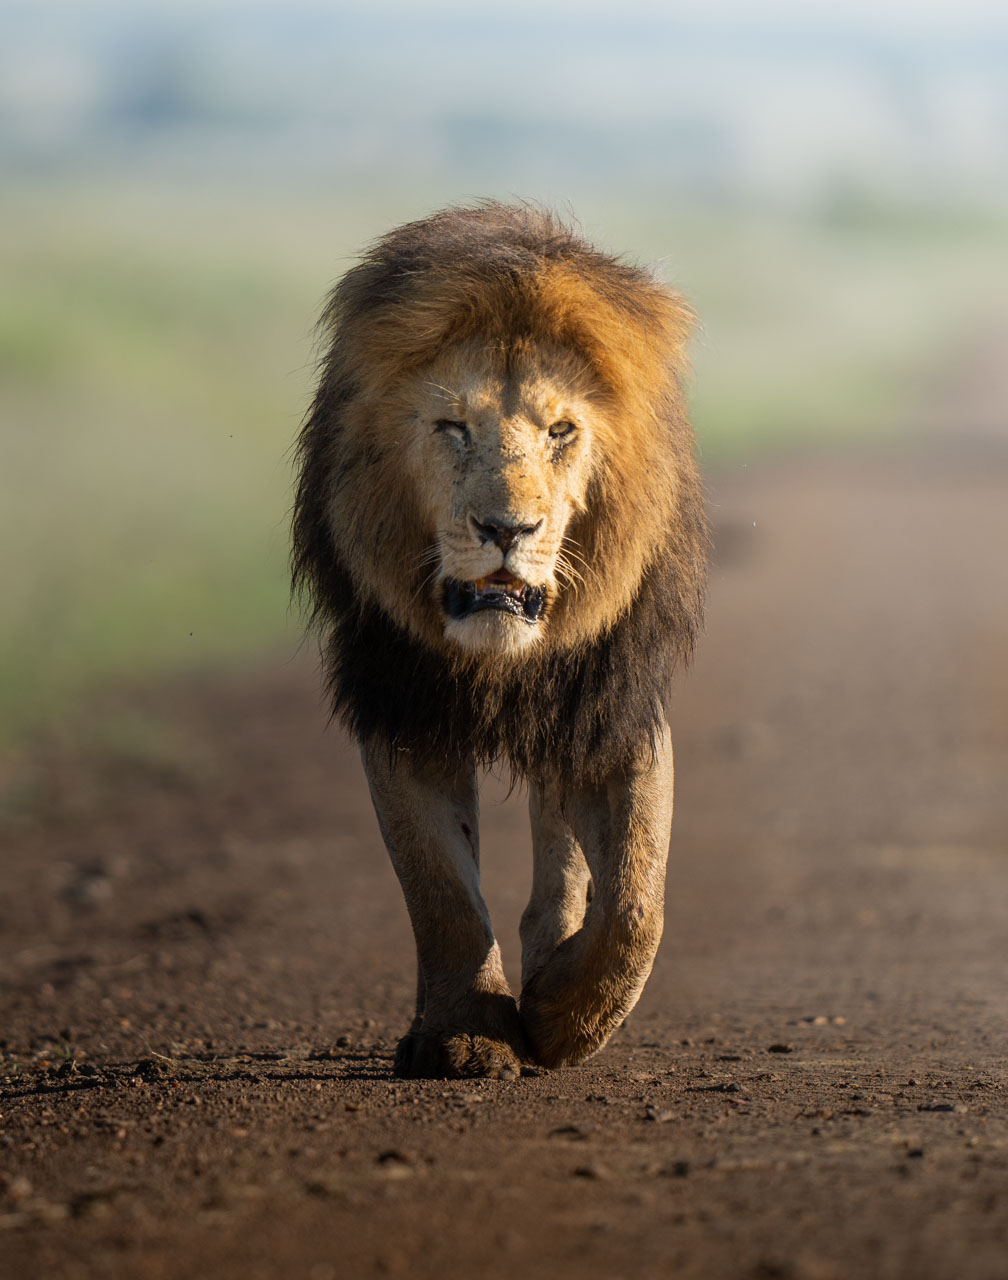
Patience: Unfortunately, there is no shortcut to mastering anything. Just like wildlife photography, post-processing requires patience too. Try to spend some time playing around with different settings on your editing software. You do not have to know what each setting does on paper, rather you can just try out all the settings for each photo. In time you’ll be able to understand what each setting does for different photo editing scenarios.
Having a vision: As you get more comfortable with post-processing, it’s important to envision what you want your photo to look like even before you start editing it. This creates a mental destination of what the desired end product should look like; which will help your entire process.
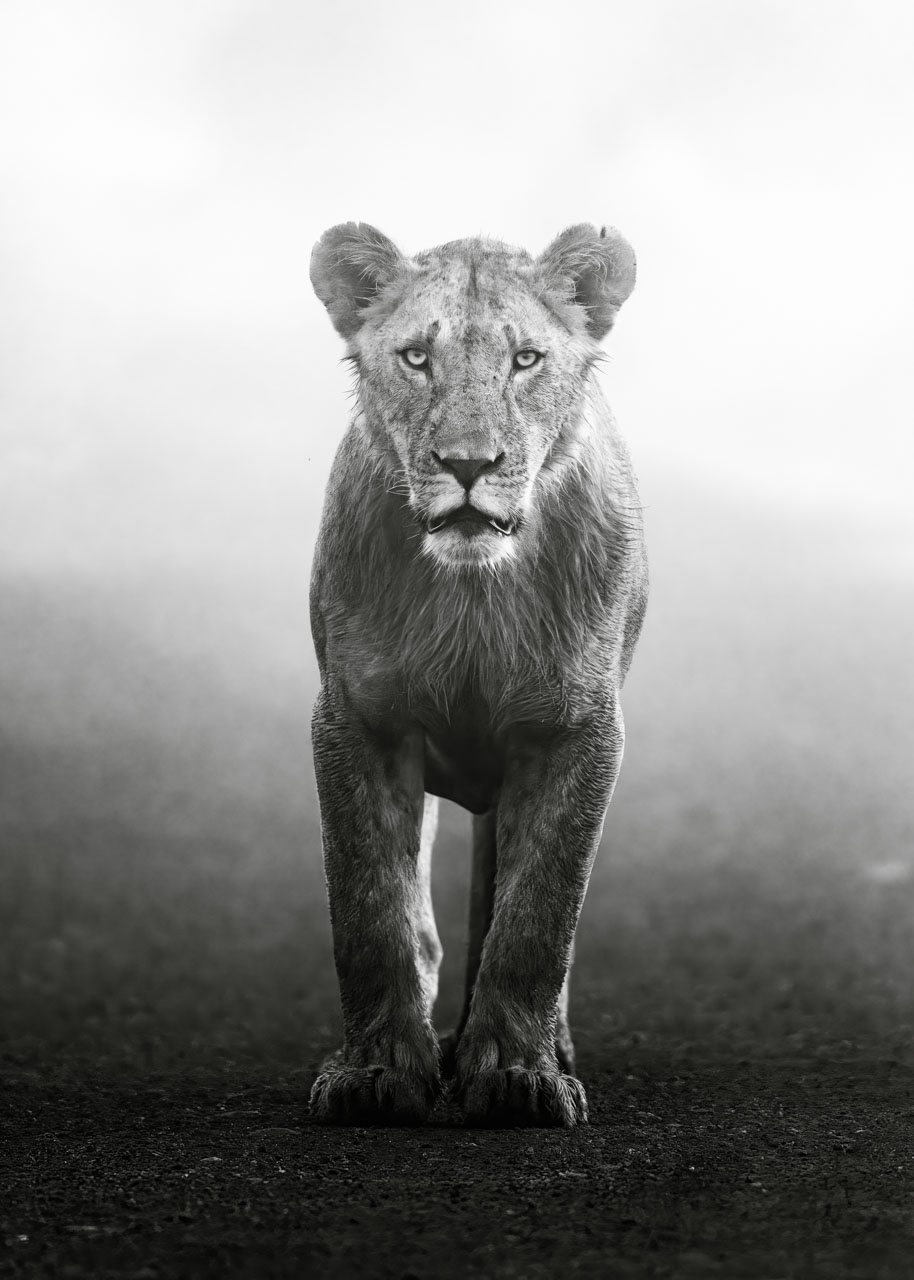
Learn how to read light: The light on the original photo will play a very important role in what your edit will look like. Golden hour is a great opportunity to create some magical photos, and usually in those photos, I spend the least amount of time editing. Harsh lighting at around noon is a bit more difficult to edit, but you can still find a way to be creative about it!
It was my first time being in a photographic studio in the Mara which was incredibly exciting for me. The photography team there is very talented and helpful in guiding guests on a photographic safari and during the editing process. In the time that I was with them, I saw many novice photographers end up with incredible wildlife shots. I hope these tips help you at home and if you’re coming to Angama, don’t forget to go visit my new friends in the Photographic Studio.
Filed under: Stories From The Mara
Subscribe for Weekly Stories
Comments (3):
12 November 2023
This articles are so magical
26 June 2023
It is with eager anticipation that I await your weekly emails regarding what is happening in the Mara. In FebruaryI was fortunate to spend an almost out of body experience at Angama with my wife, son and daughter-in law. Our son Bryan had previously been with you and he said -"dad" you have to go ! We were fortunate enough to have Moses (say hello) as our guide ! He helped me tune all of my senses to the nuances and visceral realities that present themselves in the Valley below the Lodge. To touch, smell, taste and see what Karen Blixen lived and so beautifully wrote about helped put a dream into realty.. Your staff and accomodations helped make this a "10" Til we meet again. Thank You !
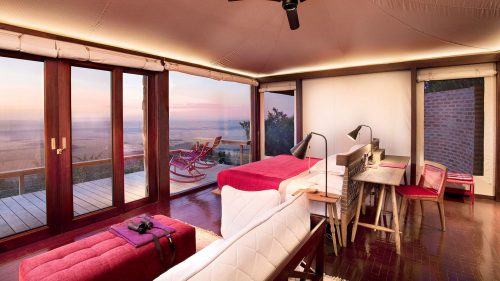
Tented Suites